I need… to link and schedule workflows
Intro
Tableau Prep Conductor is the online version of Tableau Prep that you can use from your browser to edit flows but also schedule workflows you have published to your Tableau Server / Cloud instance. From Tableau Prep Conductor 2021.3, you are able to create ‘Linked Tasks’ to schedule workflows to being one task after another flow finishes.
When preparing data, you are frequently relying on updating at least one data table before working on the output you actually need. You might be able to tie all these tasks into one workflow but this comes with it’s own challenges:
Workflows become complex - it’s hard to unpick errors you have or handover to other teams / departments to maintain the workflows in the future.
Workflows become too slow - breaking the overall transformation into parts can make the task more manageable for the computers processing the task.
Multiple processes rely on part of the work - if you are updating one table for multiple other purposes, you will likely want to process that separately to reduce the likelihood of errors holding multiple processes.
Using multiple staged workflows therefore are a good idea on multiple levels but setting them up is now really easy using Tableau Prep Conductor.
In this post, I am using the solution to Preppin’ Data challenge 2022 Week 41 split into two parts to demonstrate the capability. You can find the challenge here.
The scenario
You have two workflows published on Tableau Prep Conductor that when they are run, need to be run consecutively. You need to be alerted if any errors occur.
The steps
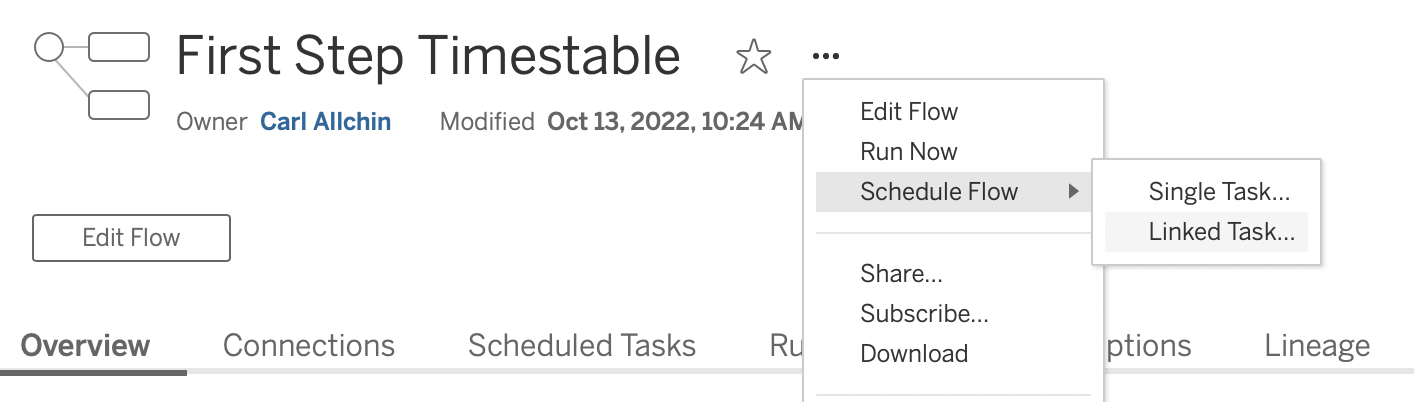
Go to your first published flow in Prep Conductor.

2. Click the ellipsis menu to the right of the name of the flow. Select ‘Schedule Flow’ and then ‘Linked Task’.
3. A new dialogue box will open. The first dropdown box will allow you to pick the schedule you want the Linked Task to run on. The schedules can be set-up by the administrator of your Tableau environment. I will pick the ‘First Day of the Month 1AM’
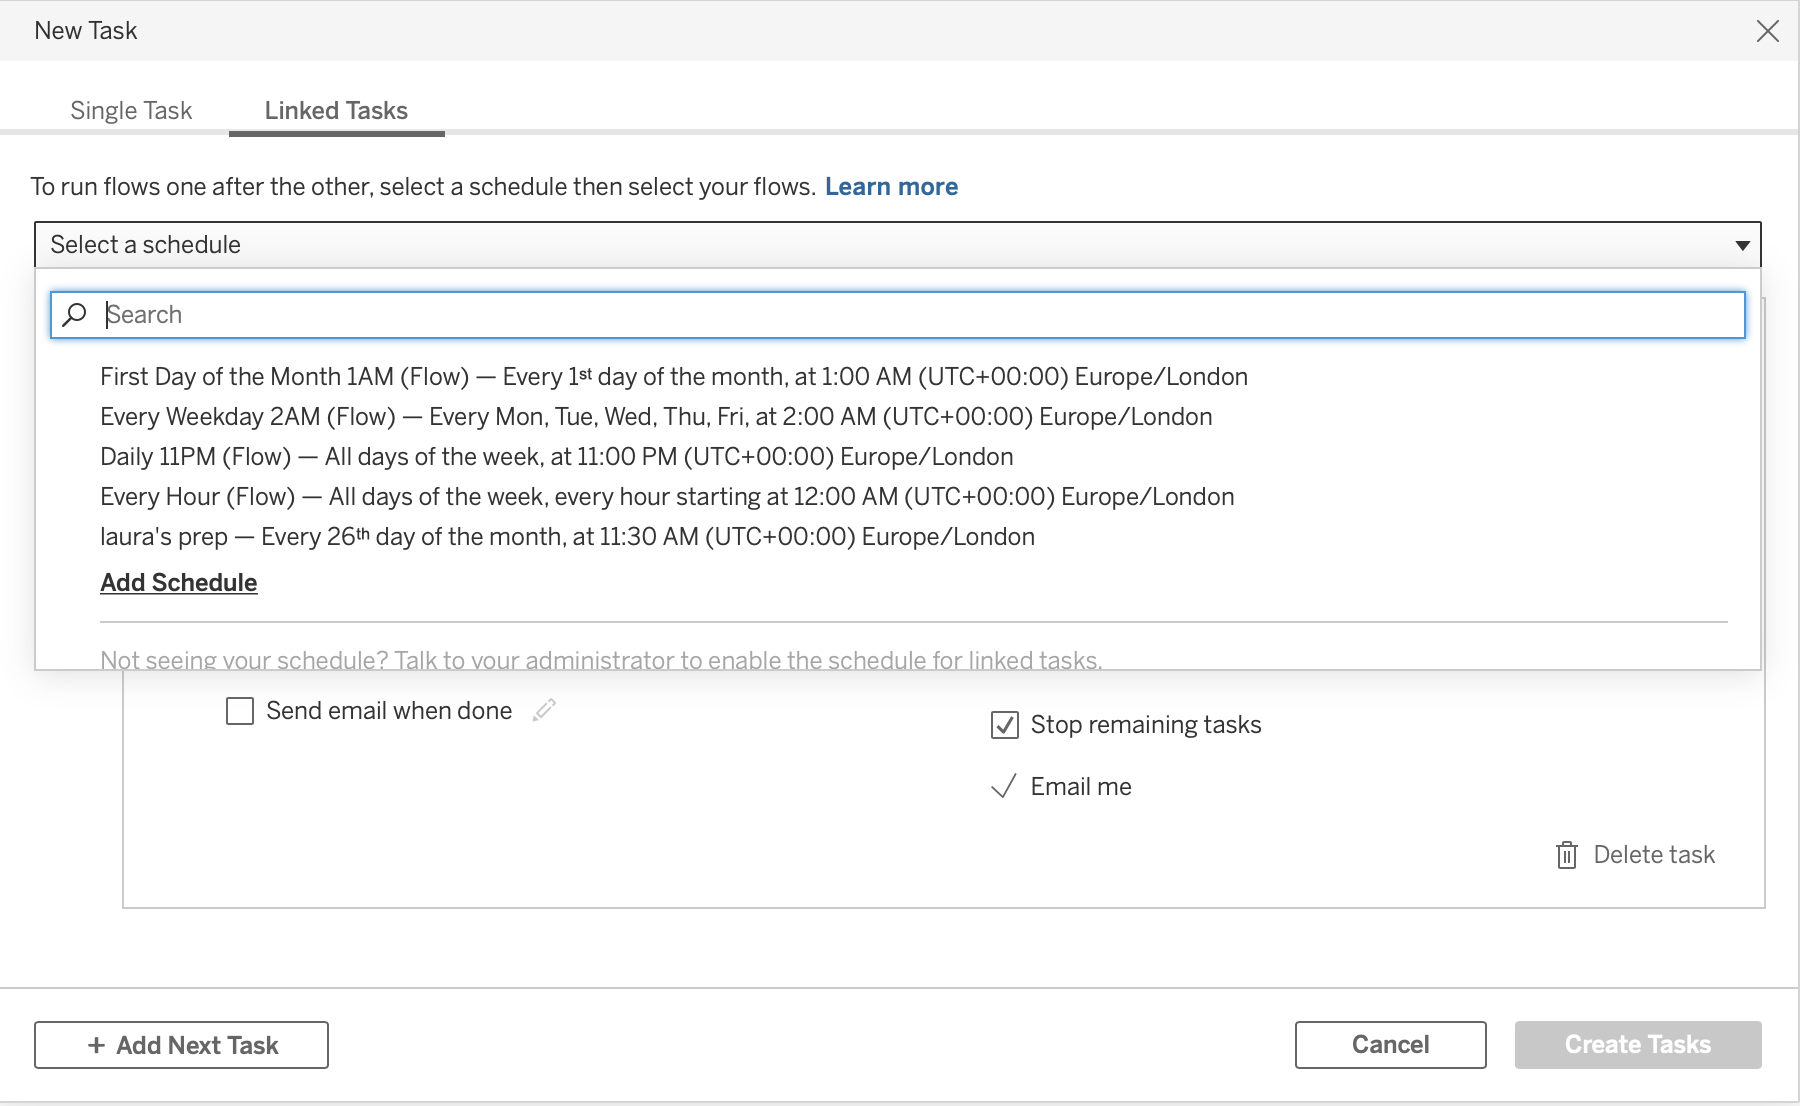
4. Configure the settings to ensure you are getting any alerts you need if the flow fails or add any data quality warnings if the flow fails. You can also choose if you are notified when the first flow is successful.

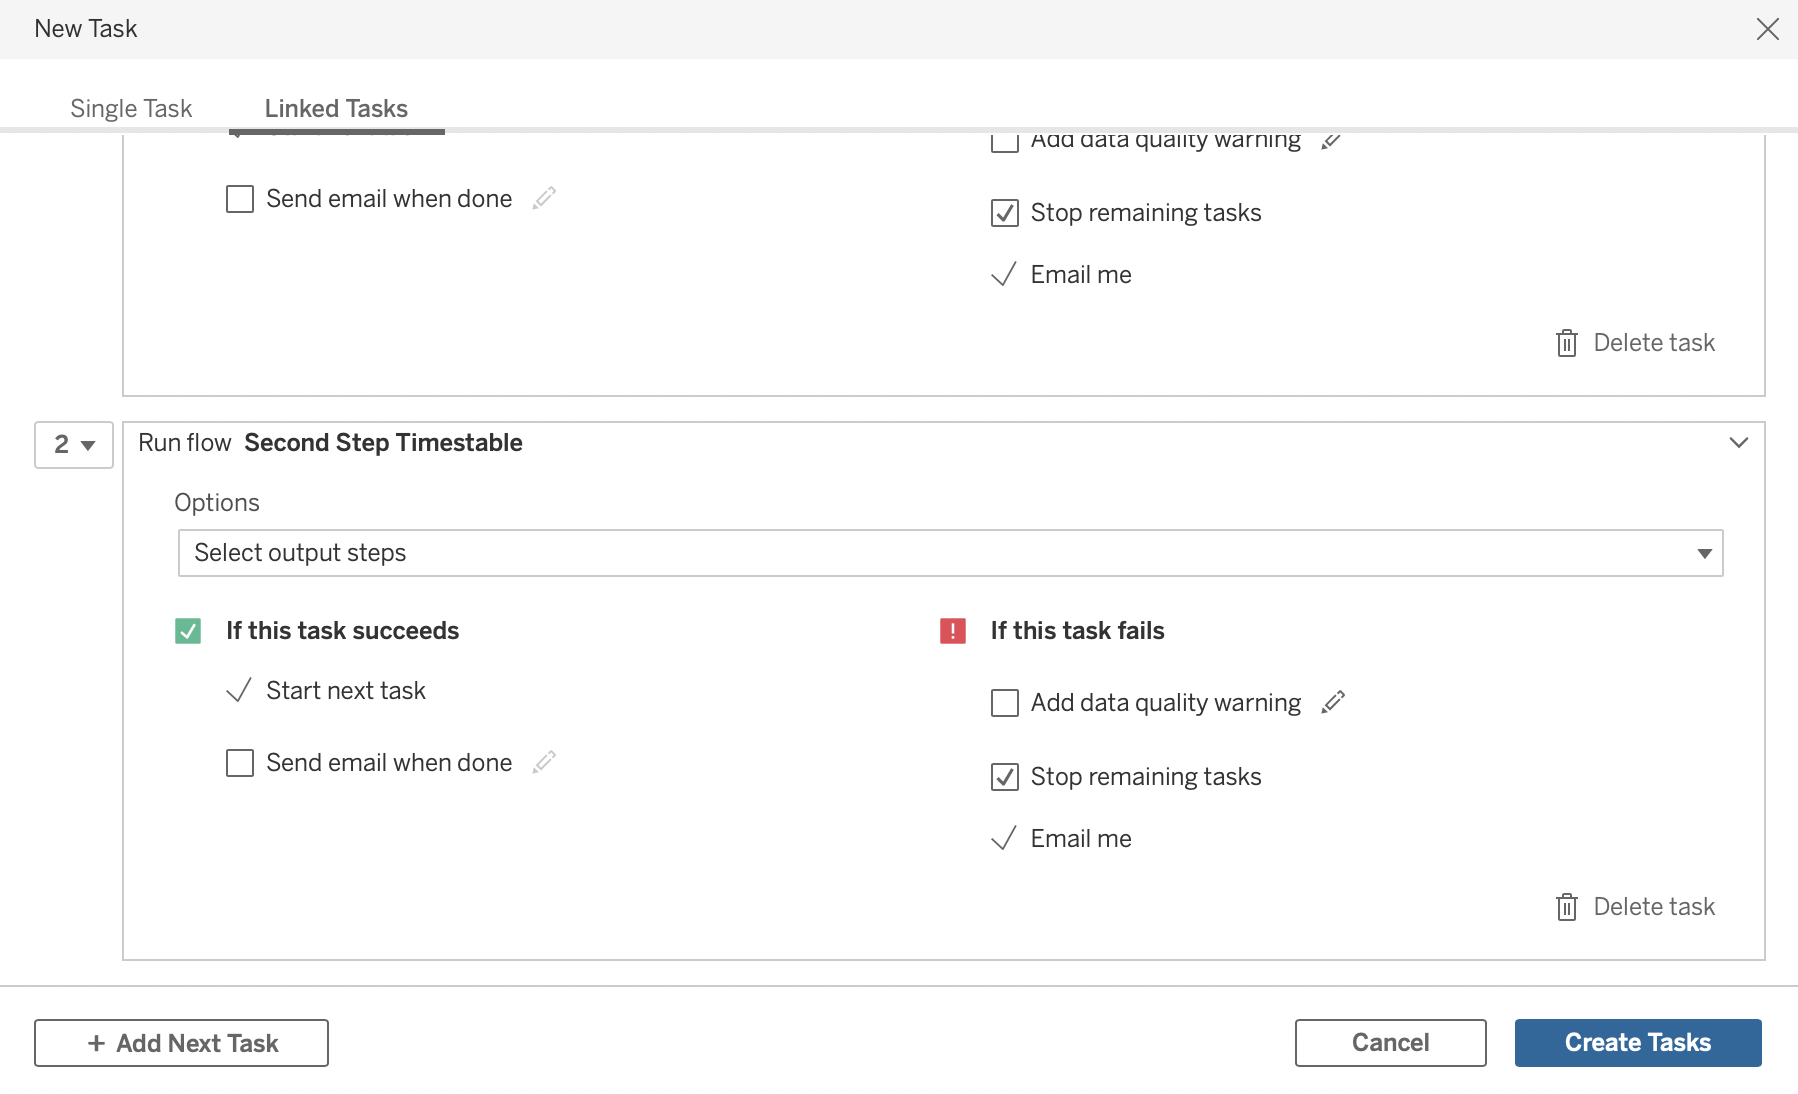
4a. If you have parameters used within the flow or multiple outputs, you will need to select the parameter values and outputs you want to run.

5. Once you have the configuration of the first flow as desired, you can select ‘+ Add Next Task’ in the bottom-left of this dialogue box.
6. An additional dropdown option will be added with a ‘2’ next to it. Click in the dropdown and you will be presented with flows that use similar data sources or naming conventions. You can select other flows by clicking in the ‘View all flows’ option in the top right of the dropdown menu. Once you find the second flow, you can select it with the tickbox and then click ‘Add’ in the bottom right of the dropdown.

7. Once ‘Create Task’ lights up (this ensures you have made all the mandatory choices you need to (like in 4a.), you are able to select this option to setup the Linked Flow.
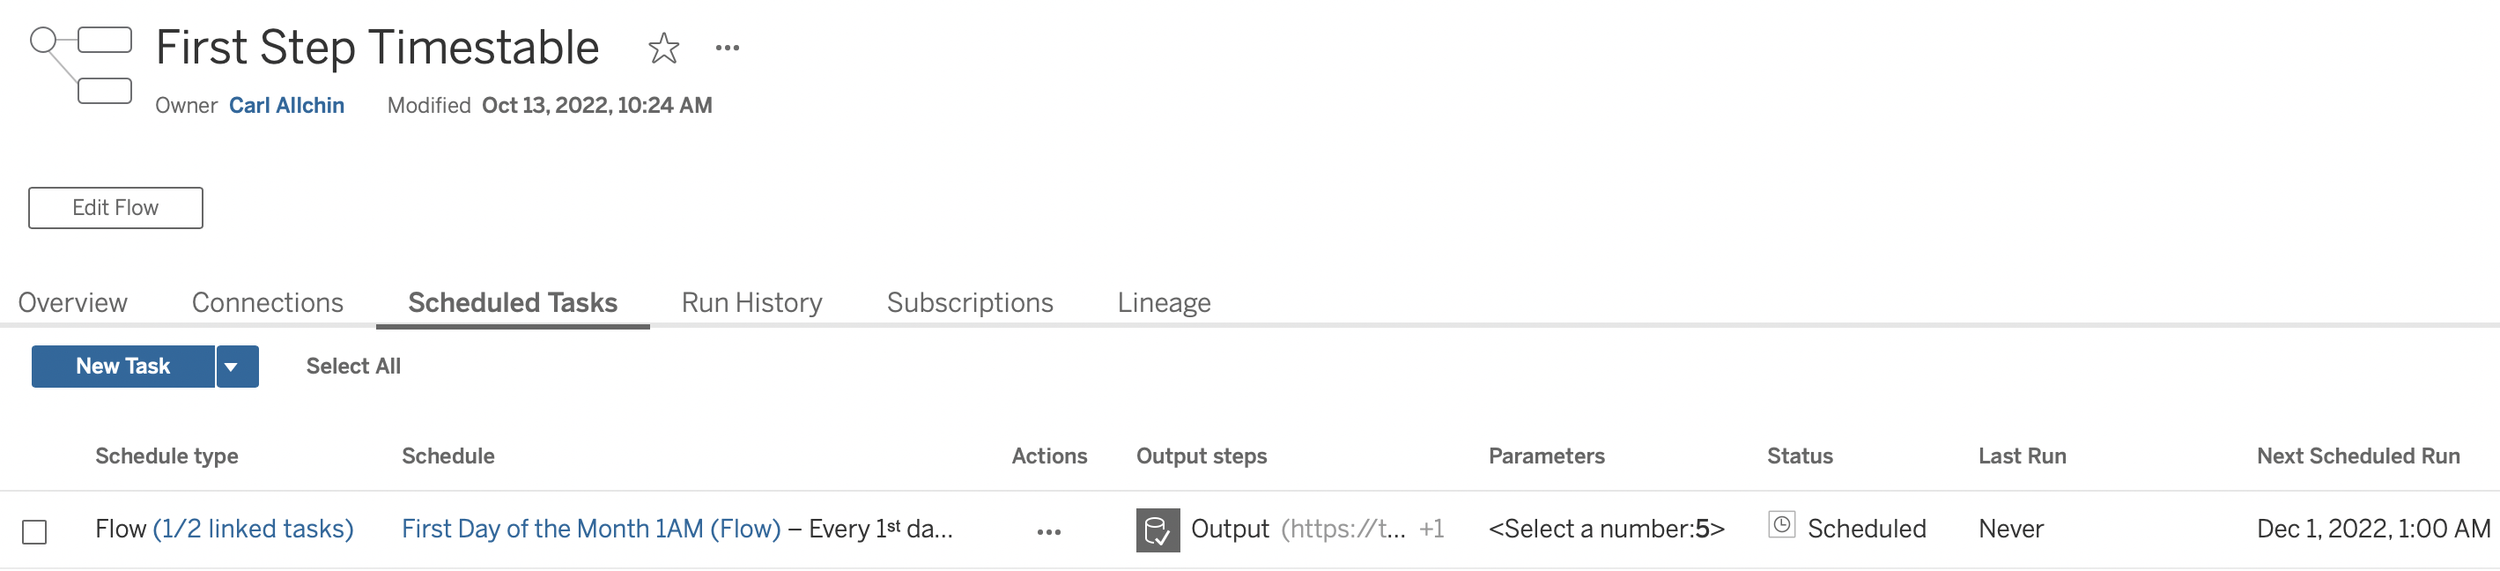
Outcome
You have now setup your Linked Task. You can check the setup under the ‘Scheduled Task’ tab for either of your workflows. The ‘Status’ will show as Scheduled until it is first run where it will then show as ‘Successful’ or ‘Failed’ depending on whether the flow runs correctly or not.